Documentation
When you first begin creating a deep reading exhibit using Exhibit.So, you will need to select the texts you are going to analyze. Here are some important points to consider as you select texts:
Two Columns
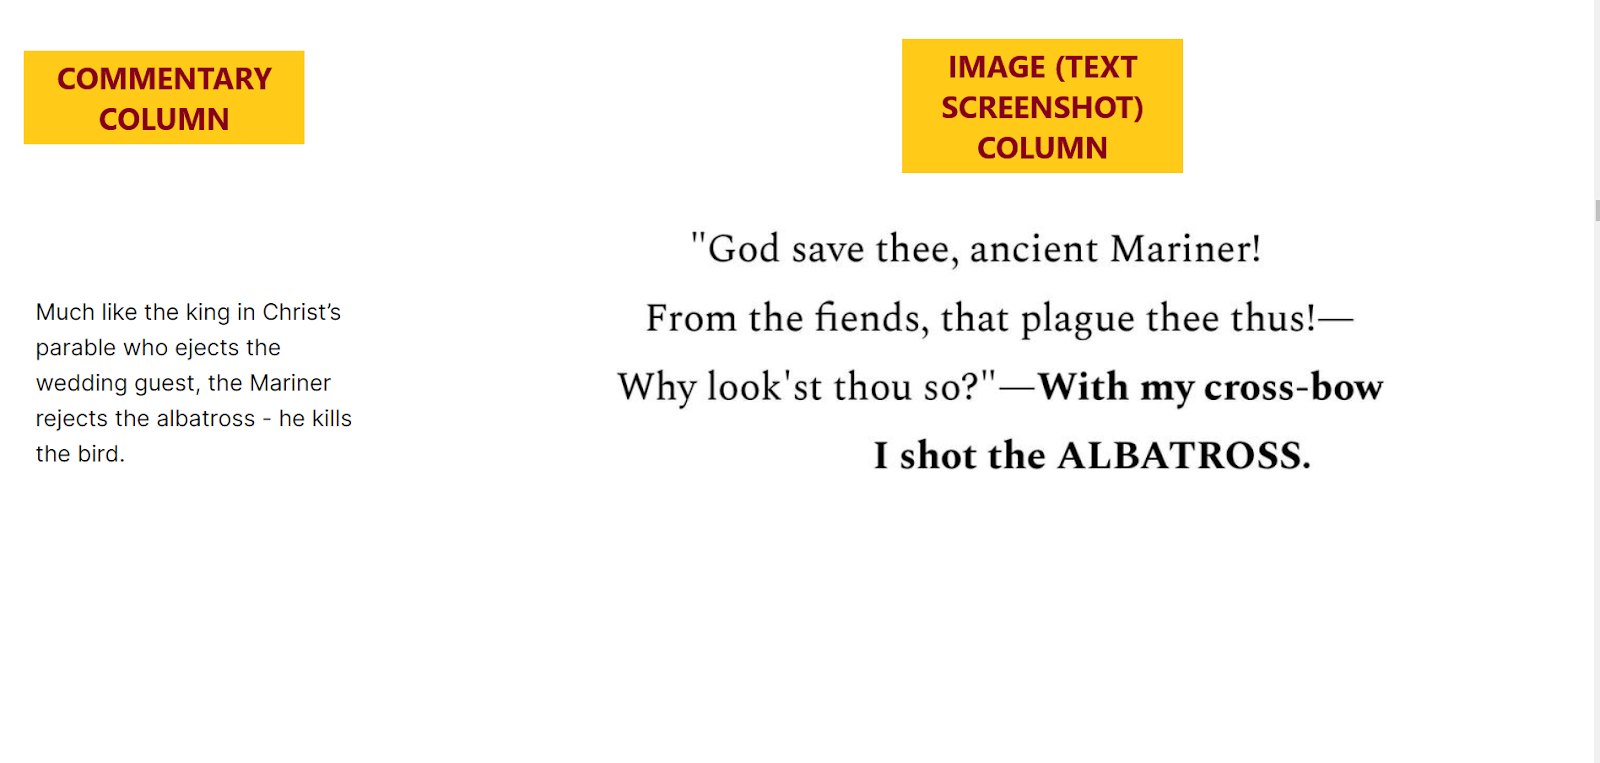
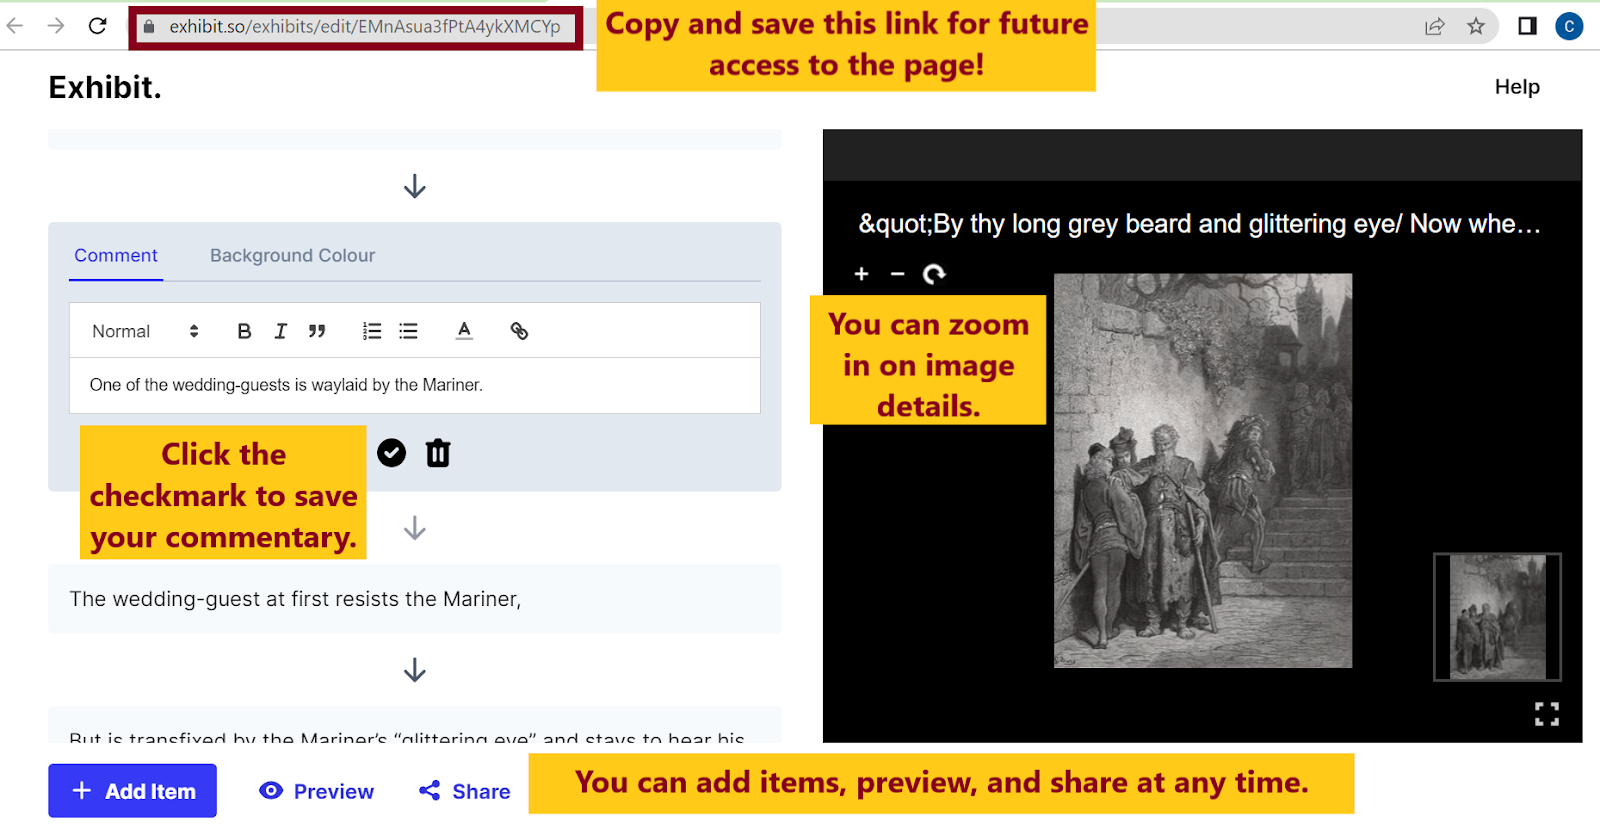
Exhibit.So has two columns - a left-hand column for text commentary (which you will type into Exhibit.So), and a righ-thand column for images (which you will upload). As the user will scroll down the exhibit, they will move through your progression of images and accompanying text commentary together, as in the screenshot below.

Choosing Materials
The materials you put in your right-hand column are the texts (whether images, diagrams, poetry, etc.) that you will be deep reading. The text in your left-hand column will provide commentary to closely read the materials on the right. A deep reading is a project that focuses on understanding the meaning of a text by closely examining its details (To learn more about deep readings, read the About Deep Readings page).
Because you will need to spend significant time on and provide commentary on the materials you put in the right hand column, the images, diagrams, or text screenshots you choose should provide a lot of material for analysis. Depending on your project, that might mean multiple visual details to explore using Exhibit.so’s zoom feature or multiple connections to historical context or other significant visual or textual works.
Consider the Sequence of Multiple Materials
Another important point to keep in mind in choosing materials for your right-hand column is that you can choose an array of images, text diagrams, and screenshots that your users can view in sequence. In other words, you do not have to be limited to just one image for your deep reading. However, also keep in mind that a deep reading is different than a slideshow. Rather than flipping through a sequence of different images, think about choosing what details you want to look at within one image, diagram, or screenshot, before considering other materials for analysis. You also might want to start with analyzing one main piece of material, moving outward to other materials, and then returning to your analysis of the original piece. Exhibit.so allows for both depth and variety in analysis, so you are not locked into a gallery or slideshow-style march through your material.
Texts or Pictures? Or Both?
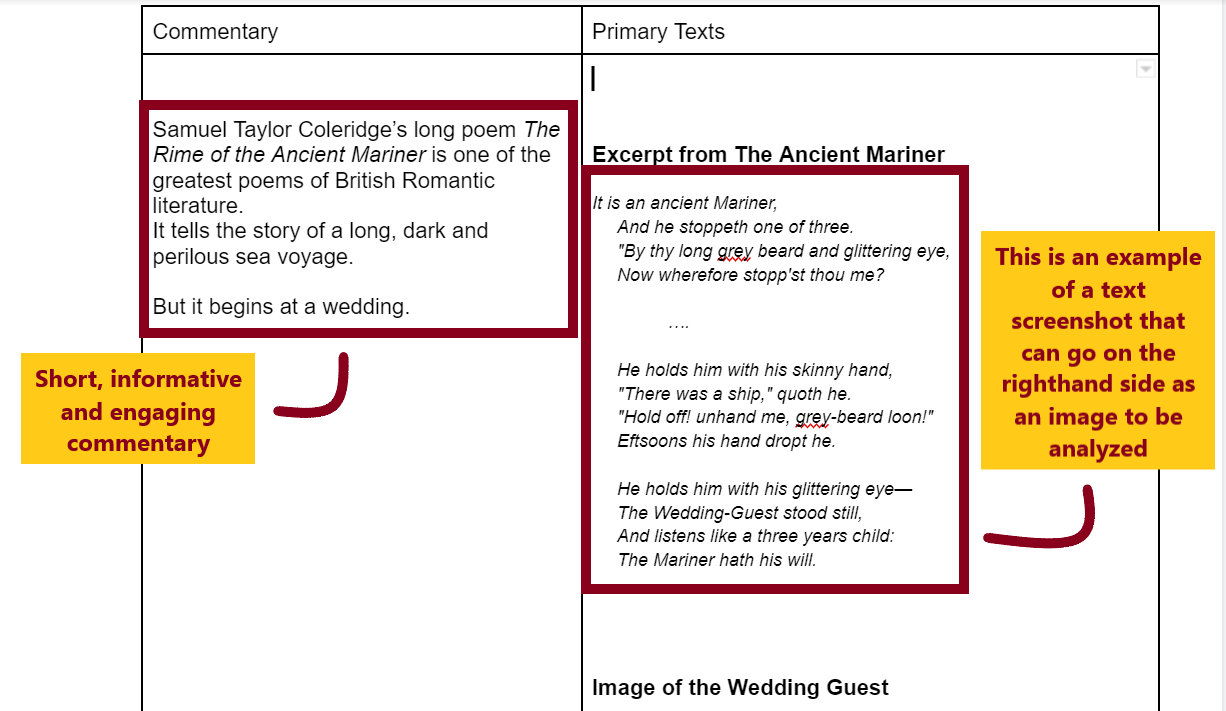
While you can only write text in the left-hand column, you can put images, diagrams or screenshots of text in the right-hand column, as long as your materials are in an image format (e.g., .jpg, .png., etc.) that can be added first to Omeka S as items (more on this below). See below for an example of part of an exhibit that uses a text screenshot as an image on the right-hand column.
Copyright Concerns
It is very important that you have both the legal and social rights to all materials you are adding to Omeka S and Exhibit.So. You should primarily consult your instructors, the O’Neill librarians, and this “Rights and Reproduction” page on the DH projects site for the BC Digital Humanities.
As the “Rights and Reproduction” page states, you will likely be using items that are under creative commons (which are licensed for everyone to use) or in the public domain. In general, items fall into the public domain 70 years after the author’s death. However, you should check with the librarians and your instructors about the copyright status of all materials you plan to use. This is important for everyone, but especially for those working with recent items (e.g., studying the 21st and 20th centuries).
Thinking Ahead
The process of building an exhibit will go much more smoothly if you fully write out your exhibit’s structure before you transfer your content to Exhibit.so. This is because it is much more easy to simply build your Exhibit.so in sequence than to have to go back and delete different images or text commentary pieces and will run the risk of having to delete and restart.
Outlining allows you to:
- Figure out how the images you want to analyze will interact with your text commentary from the perspective of your user. You can write down where you want to zoom in or out, toggle between images, or move between text screenshots and images, in relation to your commentary. The outline gives you a chance to tweak all of these details before moving into Exhibit.so.
- Collecting all of the materials you want to analyze for the outline will really help you when it comes time to add items to Omeka. Save your materials for analysis in your computer under a single file, and note (either on the outline or in a separate doc) exactly how and where you accessed your materials along with any relevant copyright and citation information. Again, talk to the librarians and your instructors if you’re not sure how to document your sources.
Two-Column Format Template
Because Exhibit.so operates on a two-column format, I used a simple two column Google doc outline format to plan my exhibit. The blank template is linked above, and you are free to make your own copy and use it.
Example Sample of Completed Outline
Example Detail of Completed Outline

Writing Public-Facing Commentary
The commentary you will write in the left-hand column is public-facing, so it should not be as dense as normal academic prose. Instead, you should be looking for prose that is engaging, accessible, and brief, while still getting your point across. You can think about the entire experience of scrolling through the exhibit as a story arc through which you are bringing your reader. Consider how you will frame your deep reading to engage the reader, clearly explain your main point, and then bring your exhibit to a satisfying or thought-provoking ending. The NYTimes Close Read Feature is an excellent model for the type of tone to aim for.
After you have outlined your exhibit, you should create an account in Omeka S where your exhibit will be hosted. Whether you are putting your exhibit into your own section on the Deep Readings site, or making your own site, you will need an Omeka account. Contact your instructors or the librarians to create an account on the Boston College Digital Humanities’ Omeka S. See instructions for adding pages below:
In order to add media to your exhibit, you will first need to add all of the materials in your outline as items in Omeka. You can follow this library guide to add items to Omeka: Create items in Omeka S. Make sure your items have citations.
{Add section on getting IIIF manifest from Omeka S}
Now that you have added your items to Omeka S and outlined your exhibit, you are now ready to make your Exhibit.so account and to build your exhibit.
First, navigate to Exhibit.so.
Then, scroll down and click ‘Create an Exhibit’.

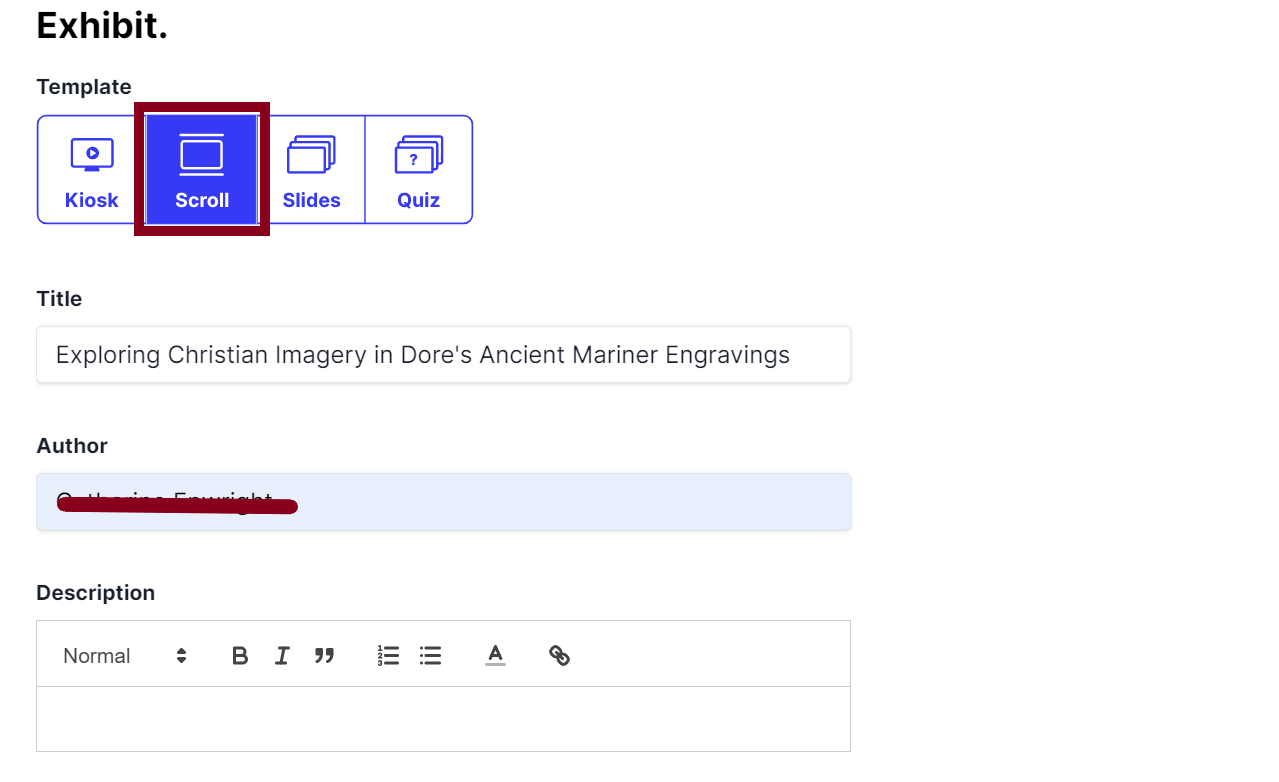
You will then select ‘Scroll’, and write in your ‘Title’ and your name in the ‘Author’ section.You can also fill in a brief description of your exhibit.
In the ‘Rights’ section you can use the following text:
This exhibit makes use of a CC BY-NC 4.0 license for project material unless stated. Historical material used is in the public domain unless indicated.
Select ‘Public’ for Access, check ‘Allow Duplication’ and agree to the Terms of Service. Then, click ‘Create Exhibit’.

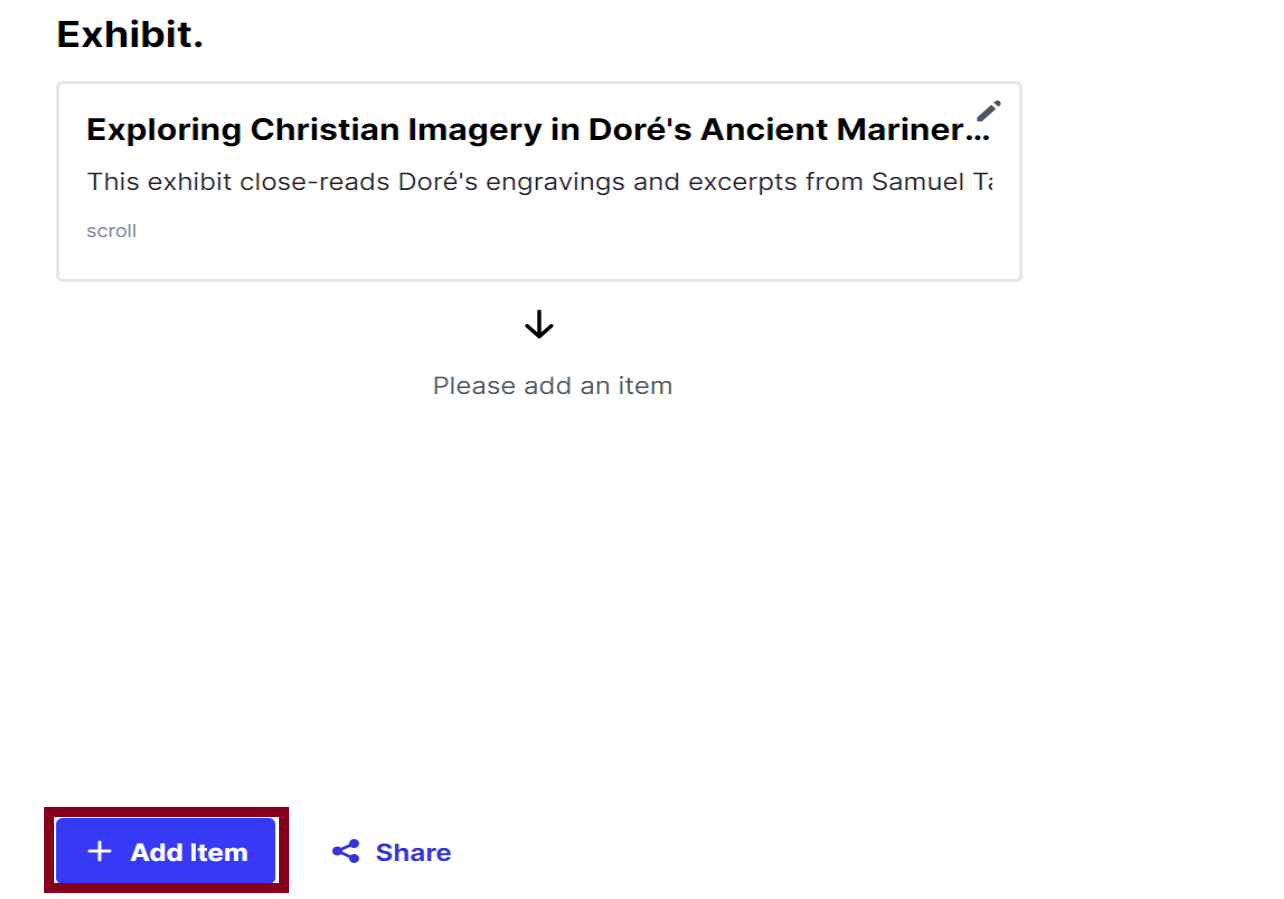
You are now in your exhibit. You can see your title and description at the top of your page, and an arrow pointing to ‘Please add an item.’ Click ‘Add item’.
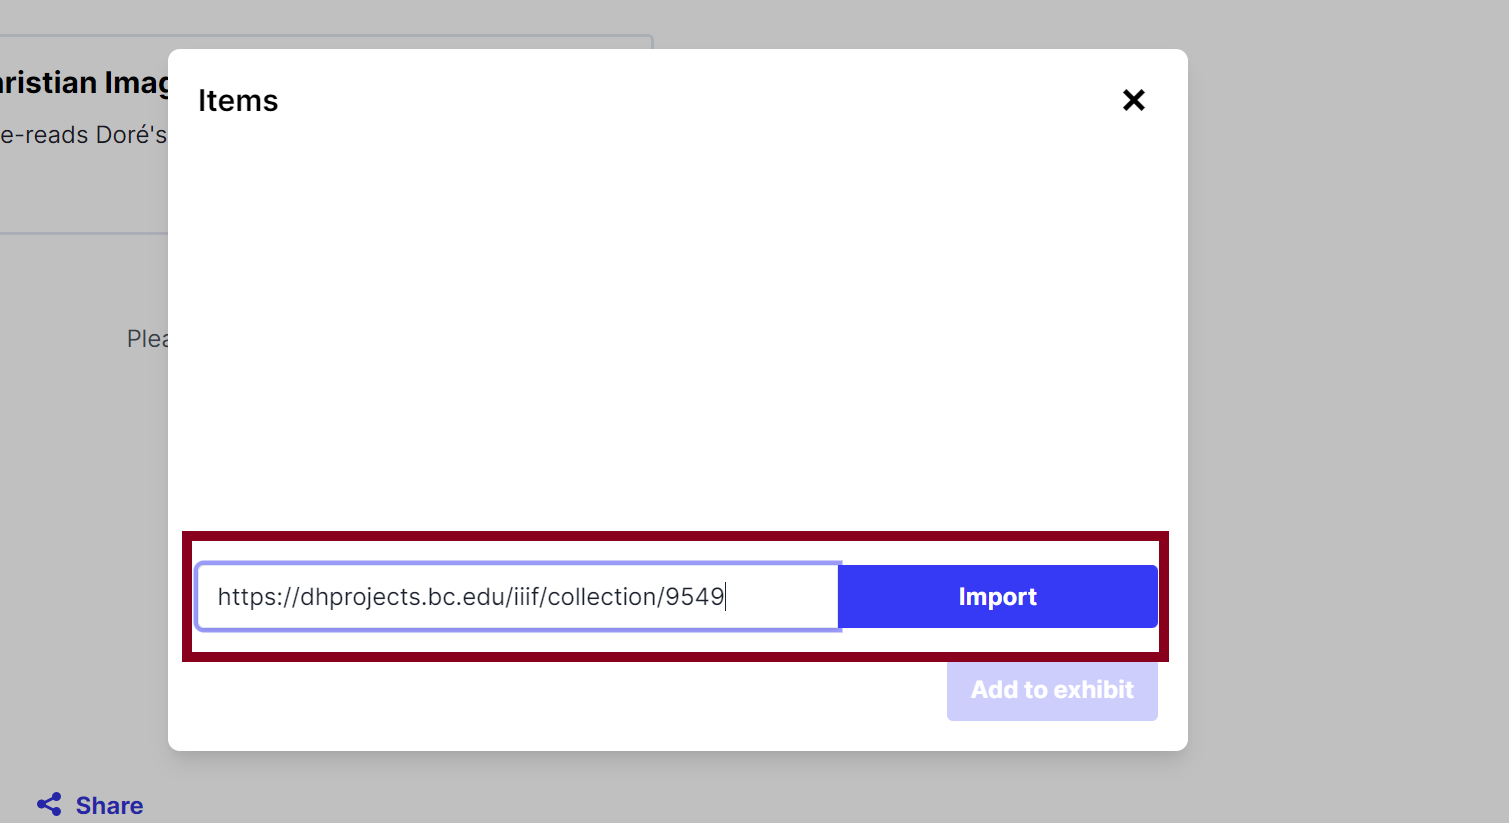
At this point, a box will pop up to add an IIIF manifest. Copy and paste the IIF manifest into the text entry box, and click ‘Import’.
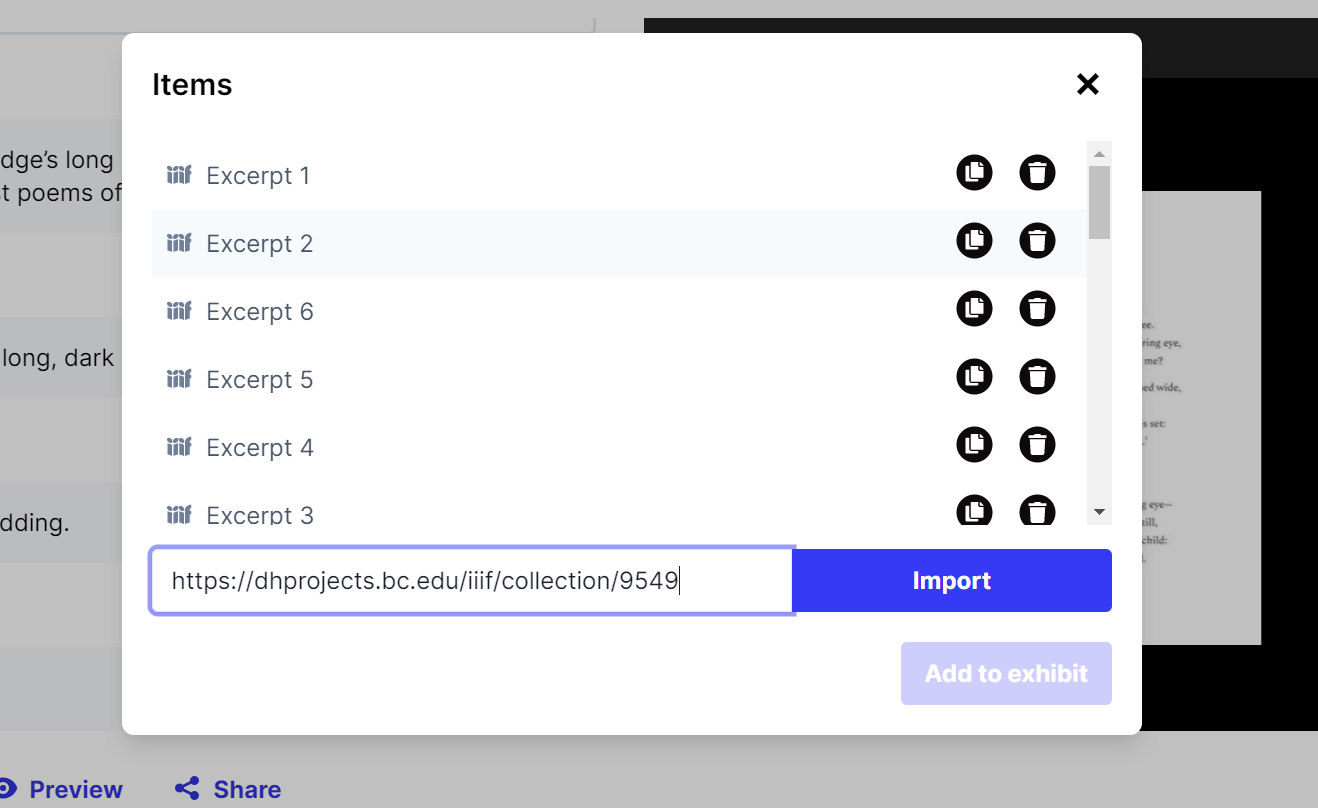
Once you click import, you will then see a list of items to choose from.
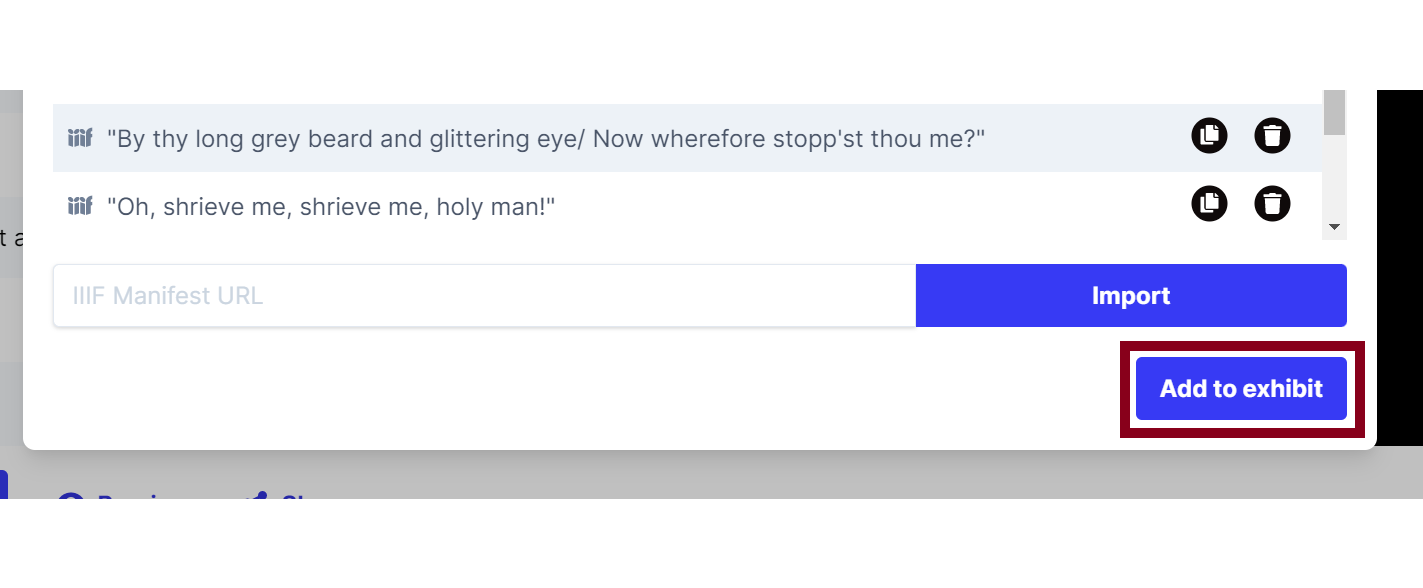
You can choose whatever piece of media you want to include, and then click ‘Add to Exhibit’.
Once you have added your first item, you will see both text and media columns as shown below. You will then be able to add commentary and manipulate the image as you like. Your exhibit will automatically save, but be sure to save the link to the editing version of the exhibit for yourself. Inconvenient as it is, if you do not save this link, you will not be able to access the editing version of the exhibit.
Continue to build your exhibit. Reference Exhibit.so’s documentation for any further questions.